|
|
|
Unusual pinky situations for the chromatic scale - 2 pinkies, 1 pinky, bad pinky, good pinky
Chromatic Scale
- Use Right F and regular fingerings in this scale (unless going to the E or F far above the staff).
- It's far too easy to get lost in this scale. You need landmarks to avoid this, especially when playing it in the region audition range, and they need to be built consistently with practice.
- Practice beat to beat (at a slower tempo, beat one to beat one).
- Always do make it to that next beat so that you've practiced all note connections. Example: D - D# - E - F - F#, small pause, F# - G - G# - A - A#, etc.
- NOTICE the notes that fall on the strong beats on the way up (there will be 3 different ones if you're going in sets of 4), and the possibly changed notes that fall on the strong beats on the way down.
- Some groups will be harder than others, especially the very lowest and highest groups.
- Focus your practice on these more challenging sets, especially on days you have limited time to work on the chromatic scale. This is much more efficient than running the entire scale when those pieces are not yet securely learned.
- Practice beat to beat (at a slower tempo, beat one to beat one).
- Needed skills will depend on range of the scale.
- From low D to second octave C requires only the normal oboe skills - half hole and first and second octave transitions, A - Bb - B - C, sixth finger and pinky flexibility and confidence.
- Low C-C# and low Bb-B are both special circumstances that require explicit teaching and some drilling to train.
- Going up to high Eb will require careful drilling of the above-high-C high note fingerings, which are less logical, and their connections.
- Going up past high Eb will require use of ALTERNATE high E and F; I recommend saving this for high school if possible.
- Skills:
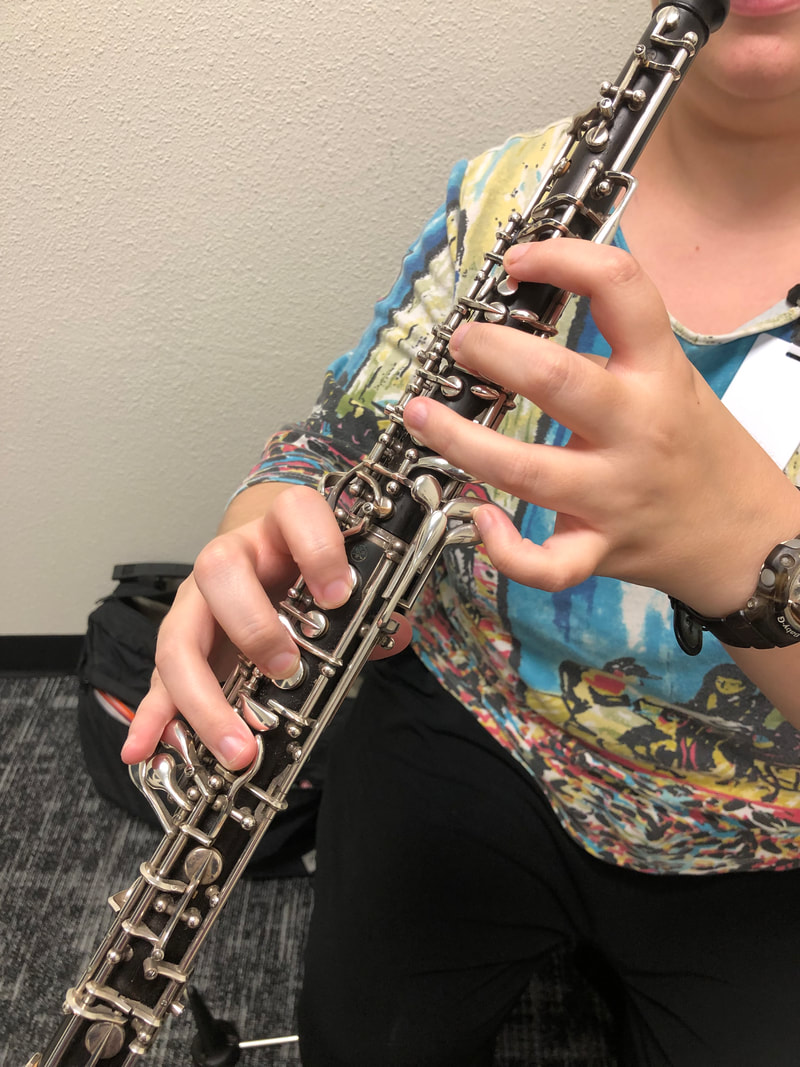
- Low C - low C# (bad pinky, good pinky)
- There's not a good way to do this.
- My recommendation is to hit the C key with a straight pinky -- you'll hit the key somewhere around the first knuckle (I call this "bad pinky"), and then curl the pinky to hit the C# key with the tip.
- You do NOT have to get off the C key on the C#; it's fine to have both.
- It will take some work to build pinky independence so that you can do this WITHOUT moving the D finger and having it slip off part of the hole.
- Be sure to move the PINKY, not the hand or arm.
- Drill low C-C# repeatedly. Maybe play the Jaws theme.
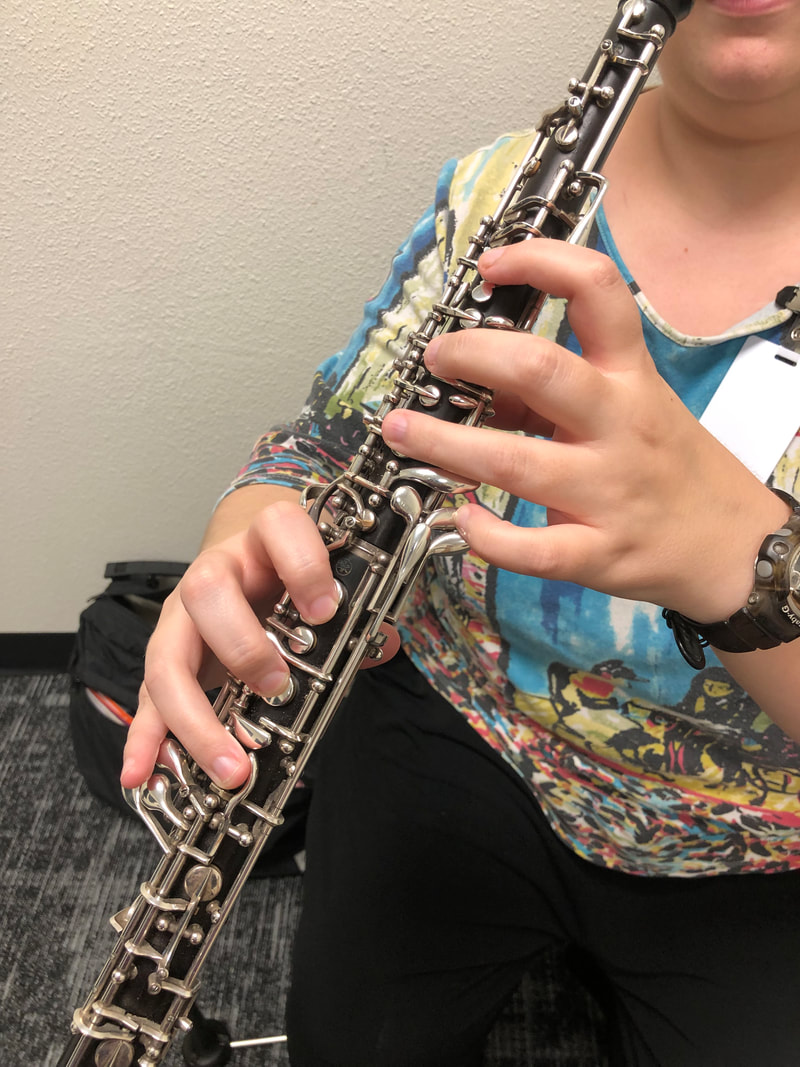
- Low Bb - low B (2 pinkies, 1 pinky)
- There's not a good way to do this, either.
- My recommendation: on the low B, hit both the low Bb and low B pinky keys. The pinky will touch both, and may be tilted slightly low. For low B, tilt the pinky slightly up so that it leaves the low Bb key.
- Be sure the hand stays low, with the bottom of the hand close to the oboe, and the left pinky stays EXTREMELY curved.
- Work to build pinky independence so that you can do this movement without moving the G finger, but it's really important for this to work that you avoid pulling the lower part of the hand away from the oboe or straightening the pinky or G finger.
- Keep the C pinky in bad pinky mode, as it will have to go from low C to low C# next.
- Drill low Bb-low B repeatedly, focusing on keeping the pinky curved and moving independently of the rest of the hand.
- Drill low Bb - low B - low C - low C# (maybe add D to complete the group.)
- 2 pinkies, 1 pinky, bad pinky, good pinky
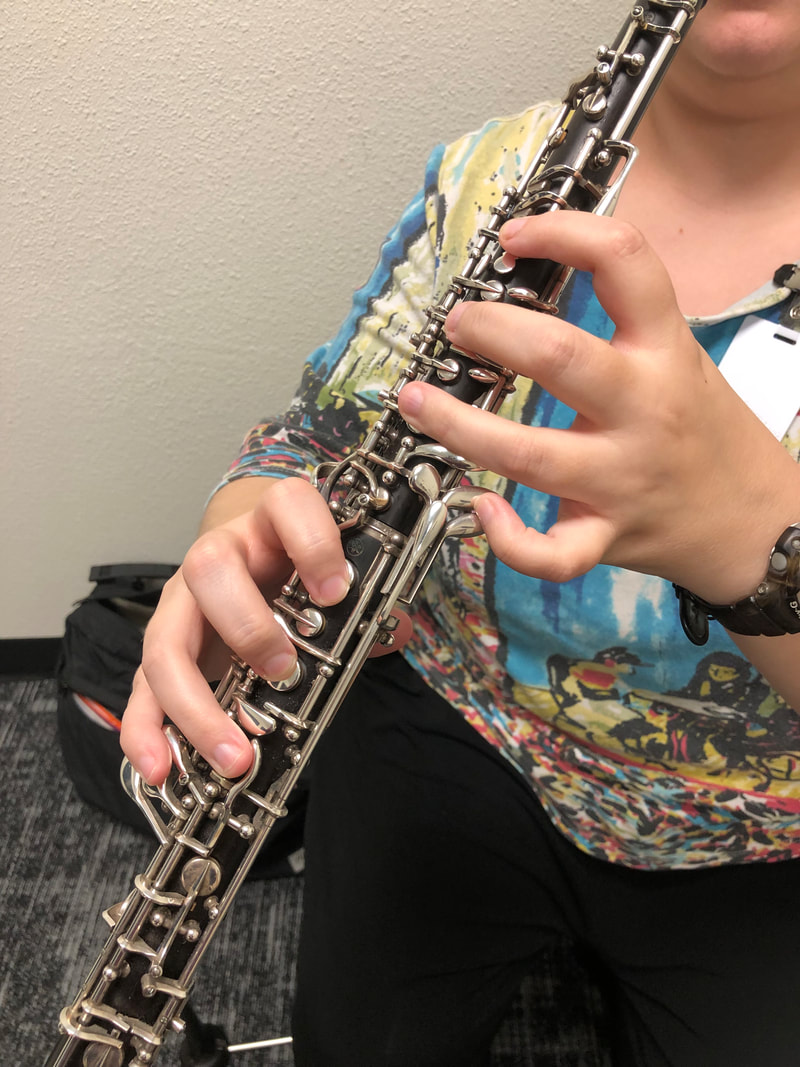
- Right pinky flexibility with C# and Eb keys.
- Drill low |: C# - D - Eb - D :|
- Sixth finger flexibility with D and right F keys.
- Not-quite cross fingerings: A - Bb - B - C
- Half hole pivot.
- First octave key, half hole to first octave transition.
- First octave to second octave transition.
- High C to high C# and high D
- Drill high C - high C#. Be aware of whether you plan to have the thumb still down on high B or whether you'll have removed it earlier, and finger the high B accordingly when practicing this transition. Remember there are no octave keys of any kind on high C#. This does involve shifting the balance of the oboe somewhat between the first and second left fingers, but that's usually simple enough to do.
- Drill |: high C - high C# - high D - high C# :| several times until it's consistently clean. Be sure there are no octave keys on high C# or D. Be sure the half hole is NOT down on high C#, but is on D.
- Remember the E key is NOT needed on high D, especially in something as technical and eventually fast as a chromatic scale.
- High D to high Eb
- hh 2 3 (B pinky) 5 6
- Drill high D - high Eb. Notice that on the left hand only the pinky moves, while the right hand moves two fingers and a pinky. Start slow and work for accuracy of fingerings.
- Given the air requirements of the notes above high C, especially high Eb, it's possible to get the fingering right and not have the note speak (too-slow air). It's also possible to miss the fingering and get a high-note squeak that you mistake for the correct note. Aim above all, in these early stages, for accuracy of fingerings; don’t let response issues stop you from drilling fingerings, but rather train yourself to play on through them and respond with faster air aimed higher.
- If going higher, high Eb to alternate high E and alternate high F
- These are less common fingerings, but as long as you have a third octave key, they work very well.
- A more common choice would be to replace the B pinky here with the Right Eb pinky - considered 'right' high E and F.
- However, that fingering makes it impossible to go to or from high D or C#, which can be a real problem in music (including Ferling etudes).
- This alternate fingering works in pretty much any situation the regular fingering doesn't work in, and has more reliable tone and tuning than many short fingerings.
- The only potential downside to alternate high E and F is that on some instruments, the pitch may sit a little low if there's no third octave key and students must use the first instead. It's very reliable with the third octave key.
- A more common choice would be to replace the B pinky here with the Right Eb pinky - considered 'right' high E and F.
- Alternate high E: 3rd octave, hh 2 3 B pinky, RIGHT SIDE Ab key, 5 6
- Notice this is like high Eb plus the third octave and right side Ab keys.
- If there is no third octave key, use the first.
- Alternate high F: 3rd octave, hh 2 B pinky, RIGHT SIDE Ab key, 5 6
- Notice that this is like alternate high E minus the G key.
- If there is no third octave key, use the first.
- Drill alternate high E - alternate high F
- Drill high Eb - alternate high E.
- Notice that you are moving only the thumb/third octave key and the right Ab key. All but those two stay in place.
- Drill high |: Eb - E - F - E :| with the alternate fingerings.
- These are less common fingerings, but as long as you have a third octave key, they work very well.
- Low C - low C# (bad pinky, good pinky)
